
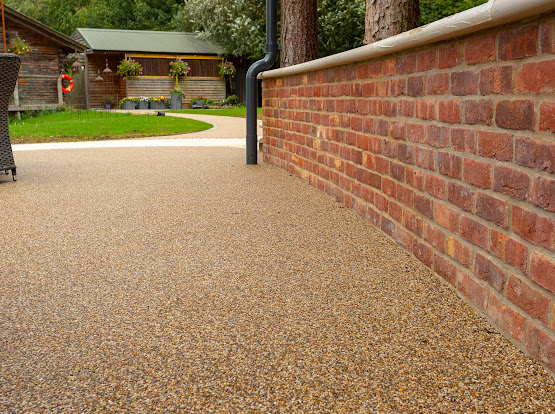
Resin bound patios.
A continuous aggregate finish for seating areas and garden spaces. Explore colours and borders that suit your home, with thresholds, supporting construction and drainage assessed before the work is specified.
Continuous finish
Resin and natural aggregate, hand-trowelled onto a prepared base.
A planned water route
Water movement depends on the full construction and ground conditions. We review the route before recommending the patio build-up.
Set to the right falls
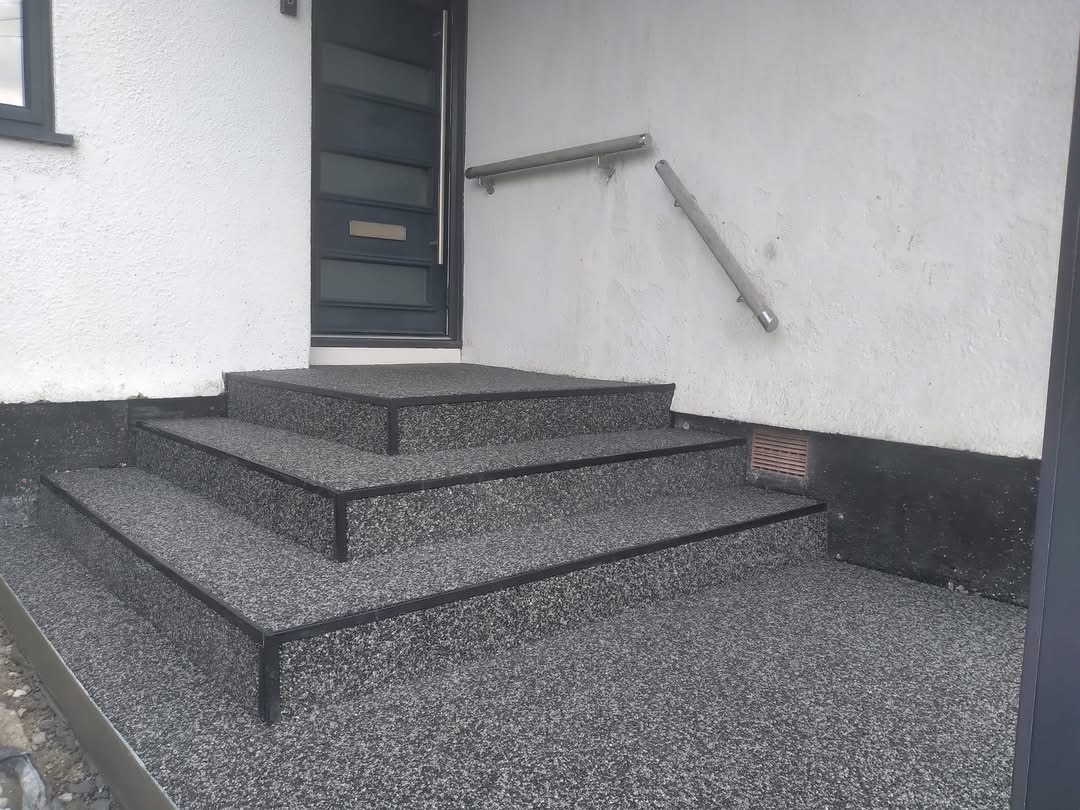
Levels against doors and the damp-proof course are measured on site, with water directed away from walls.
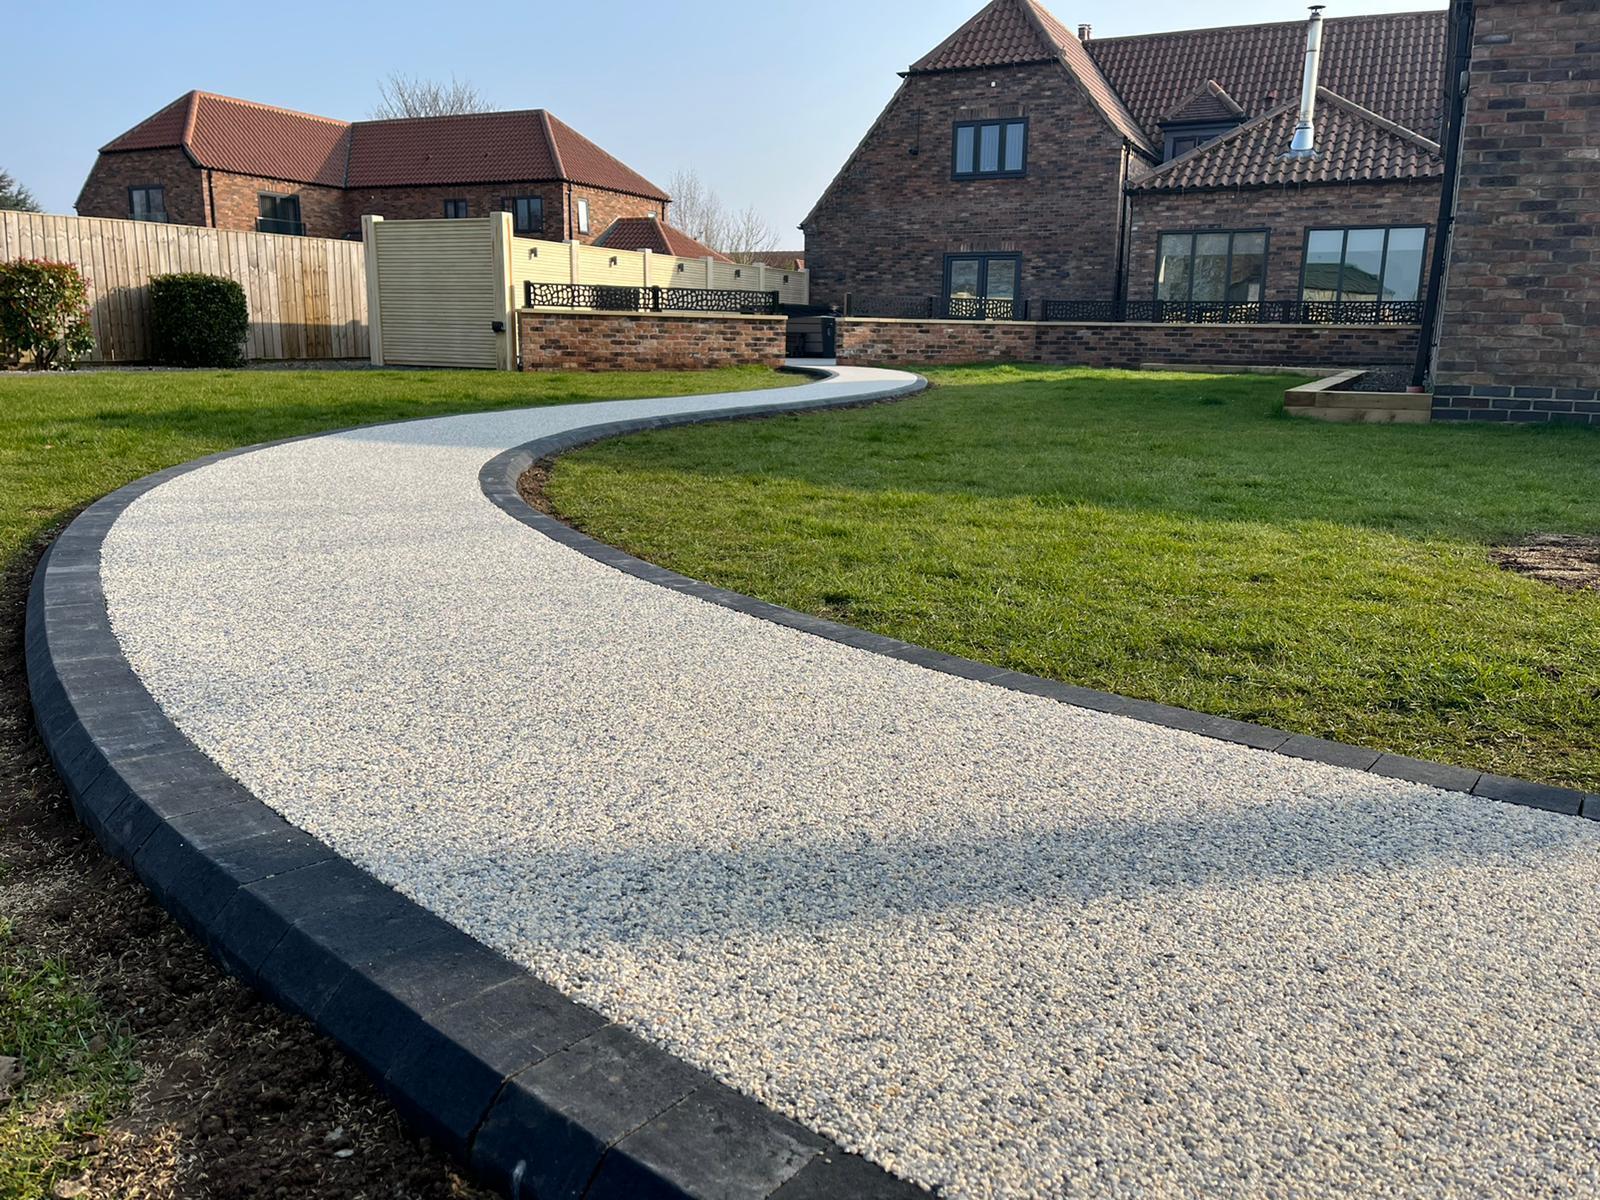
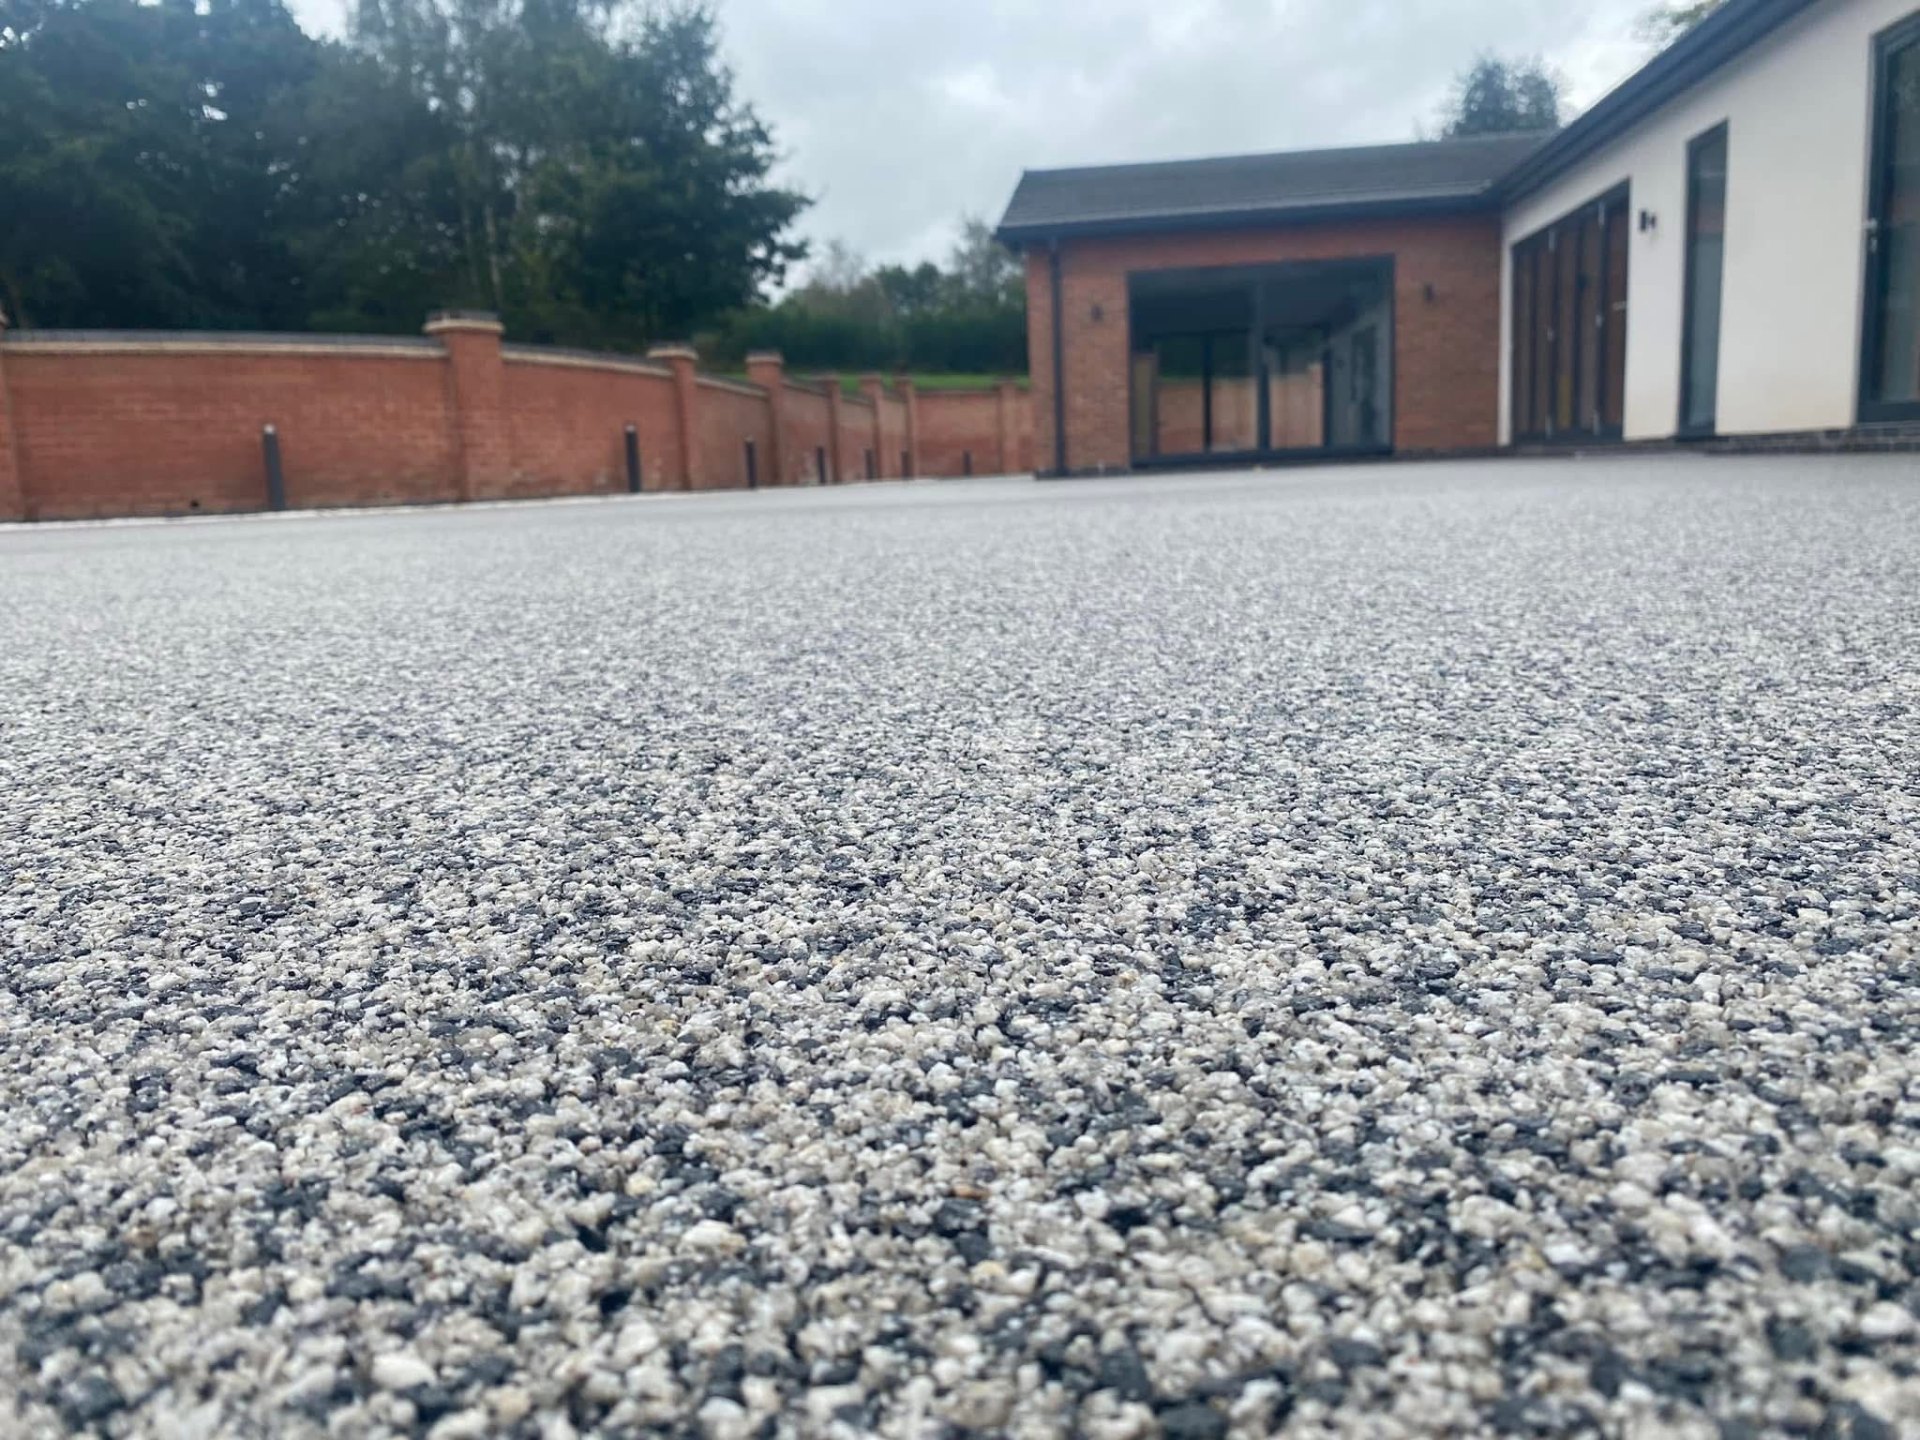
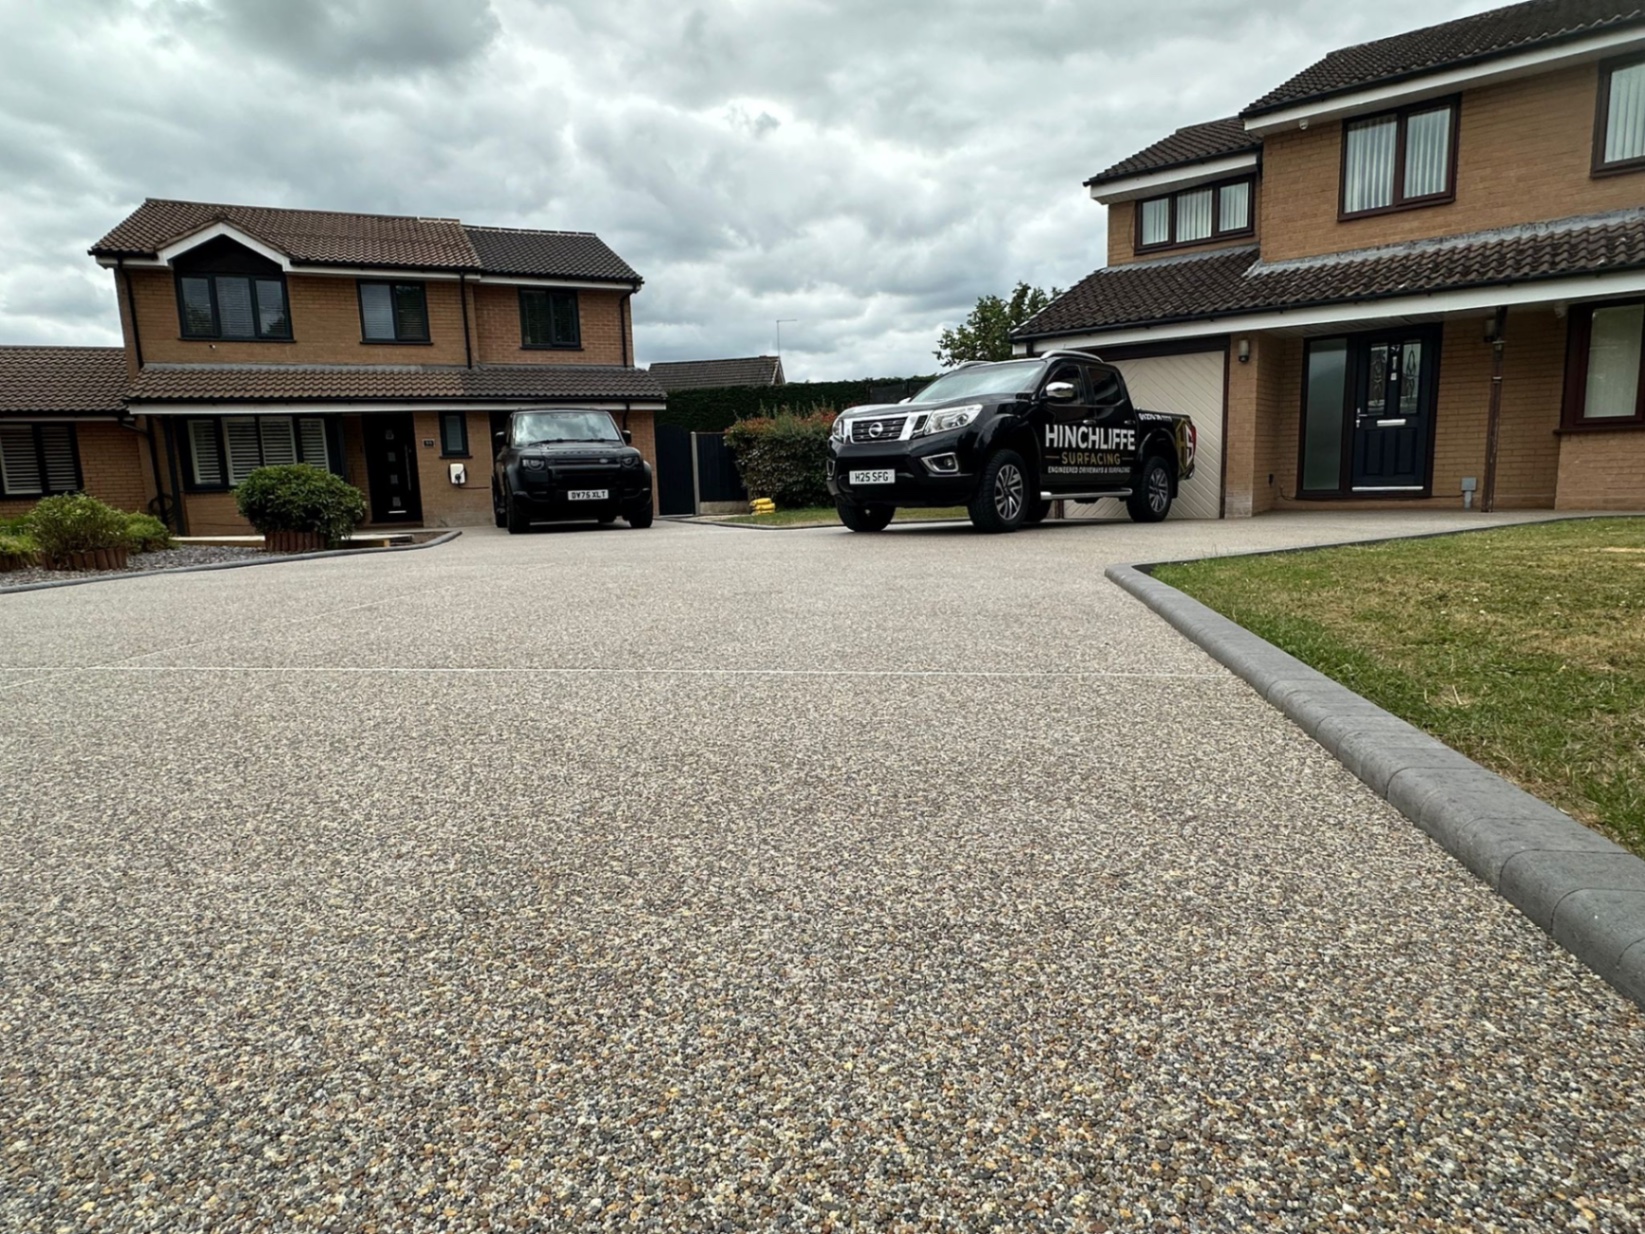
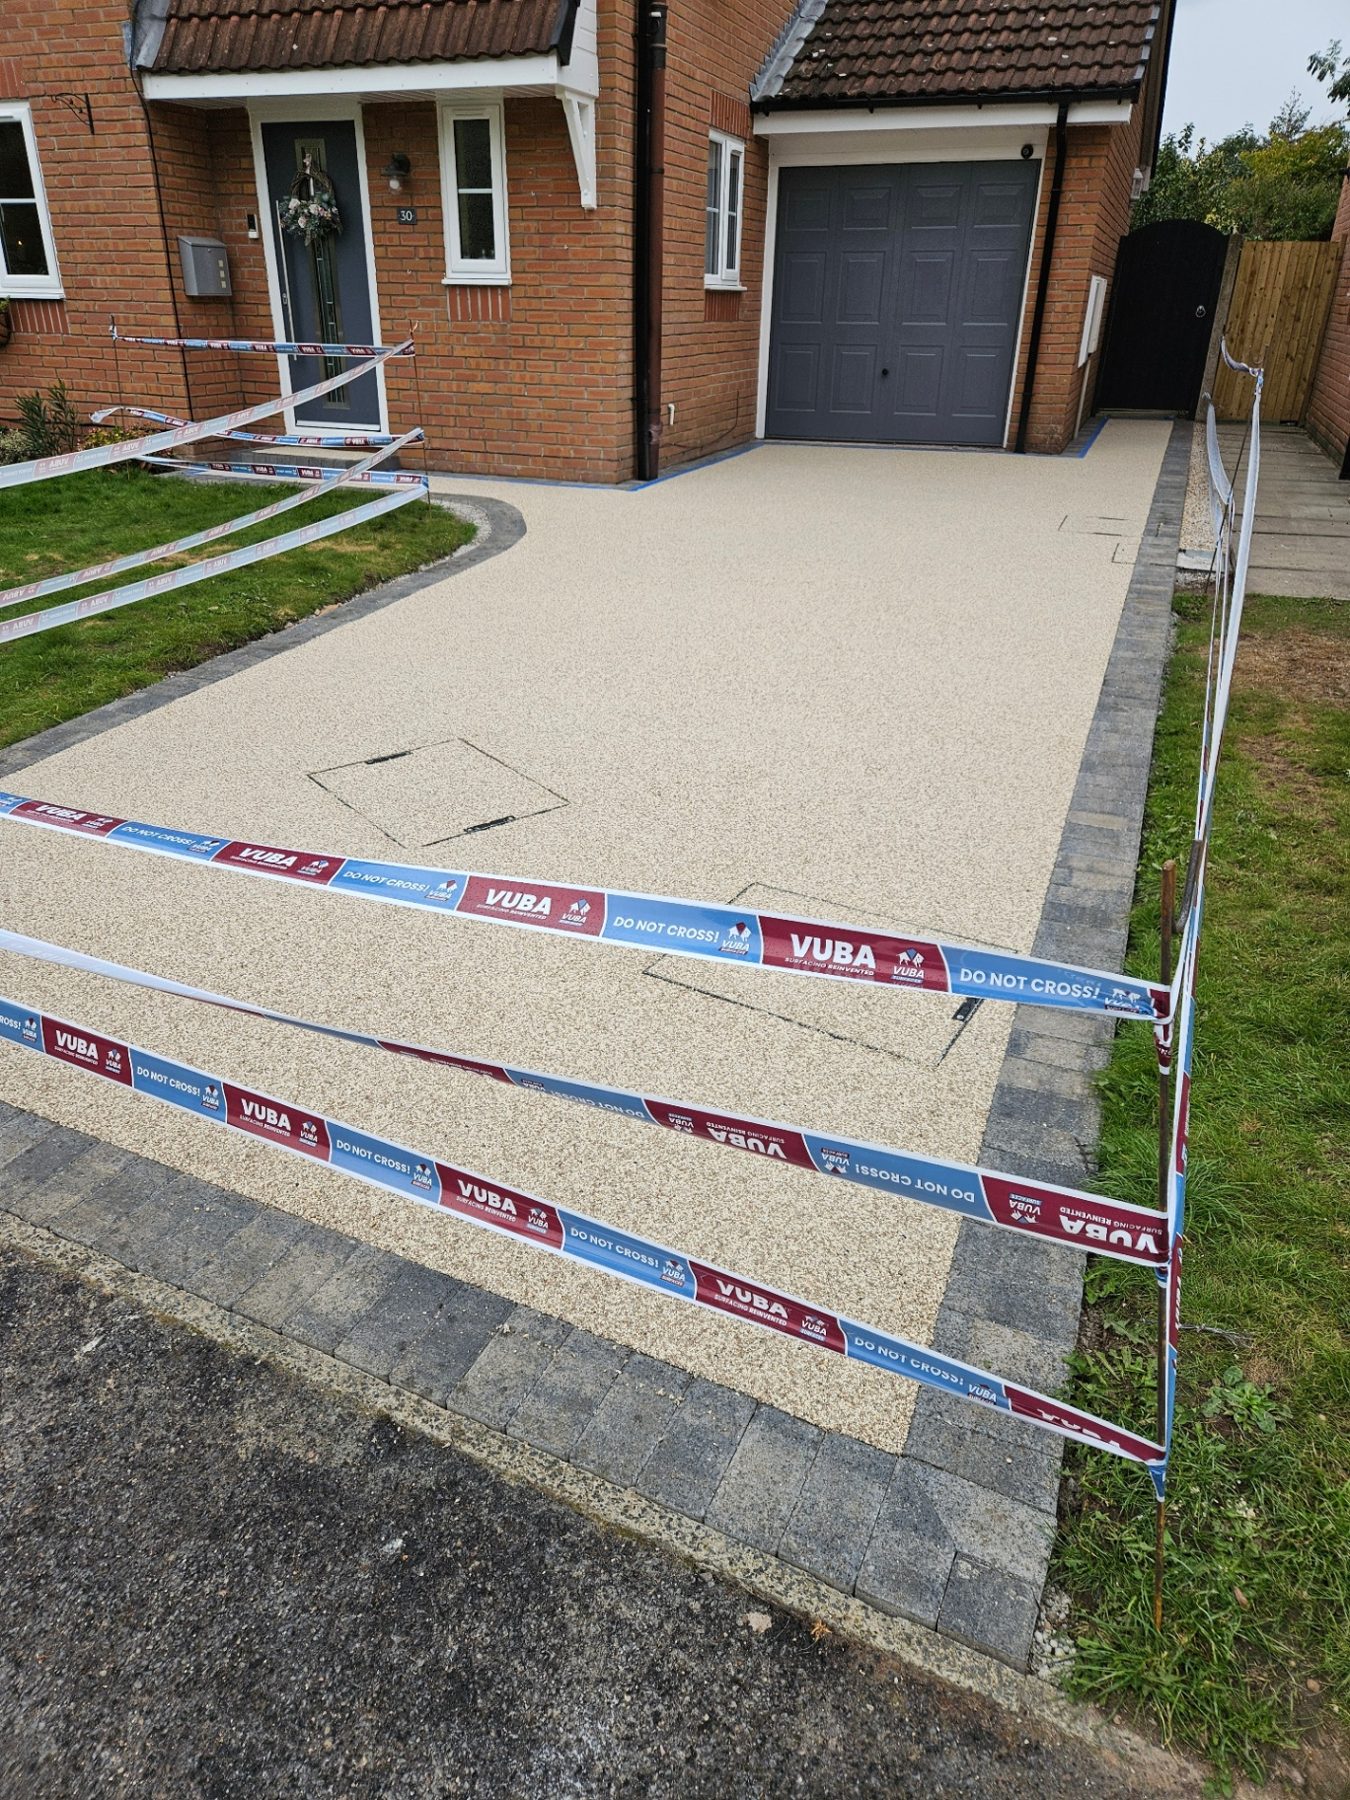
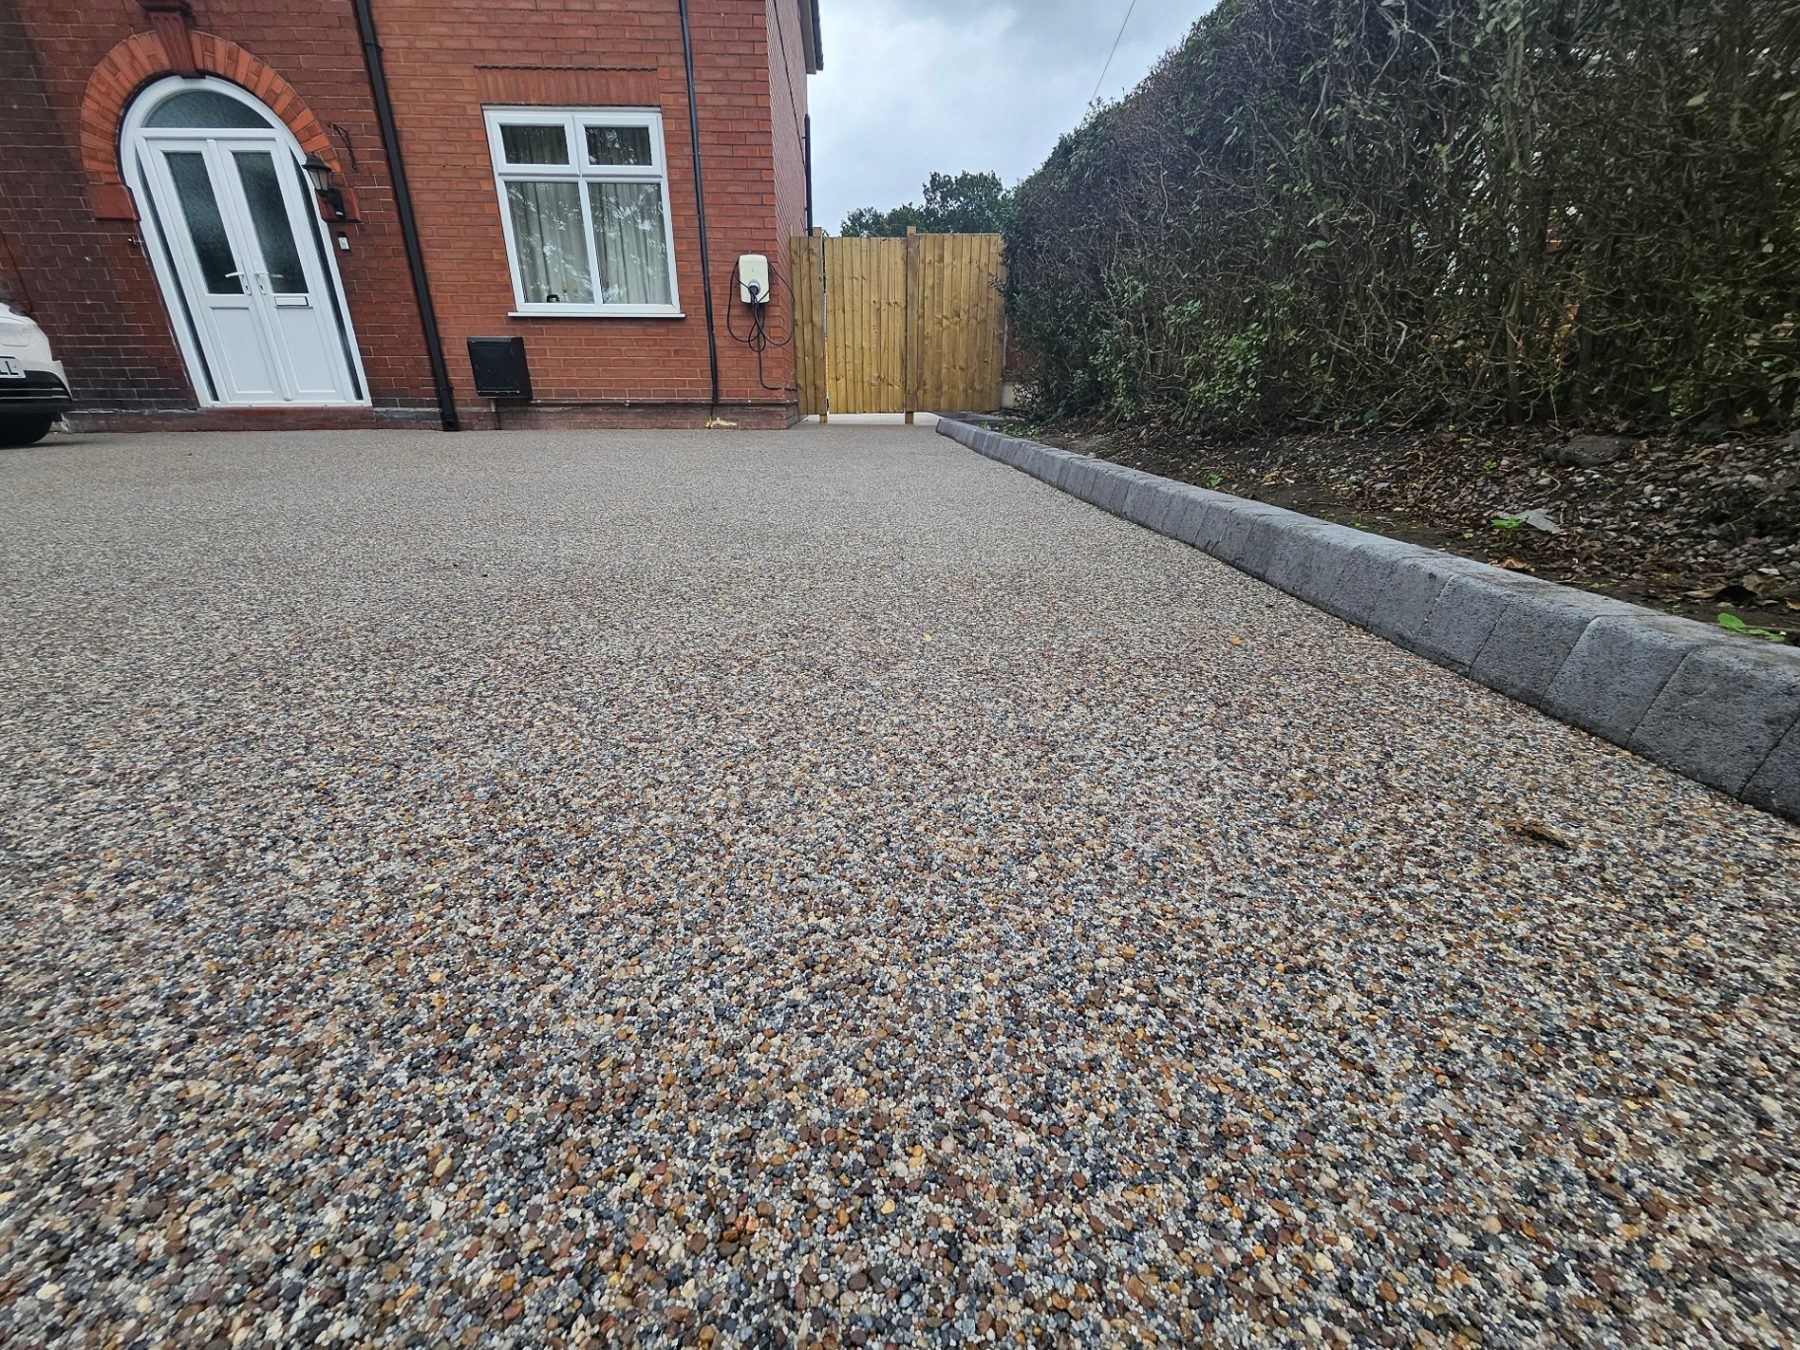
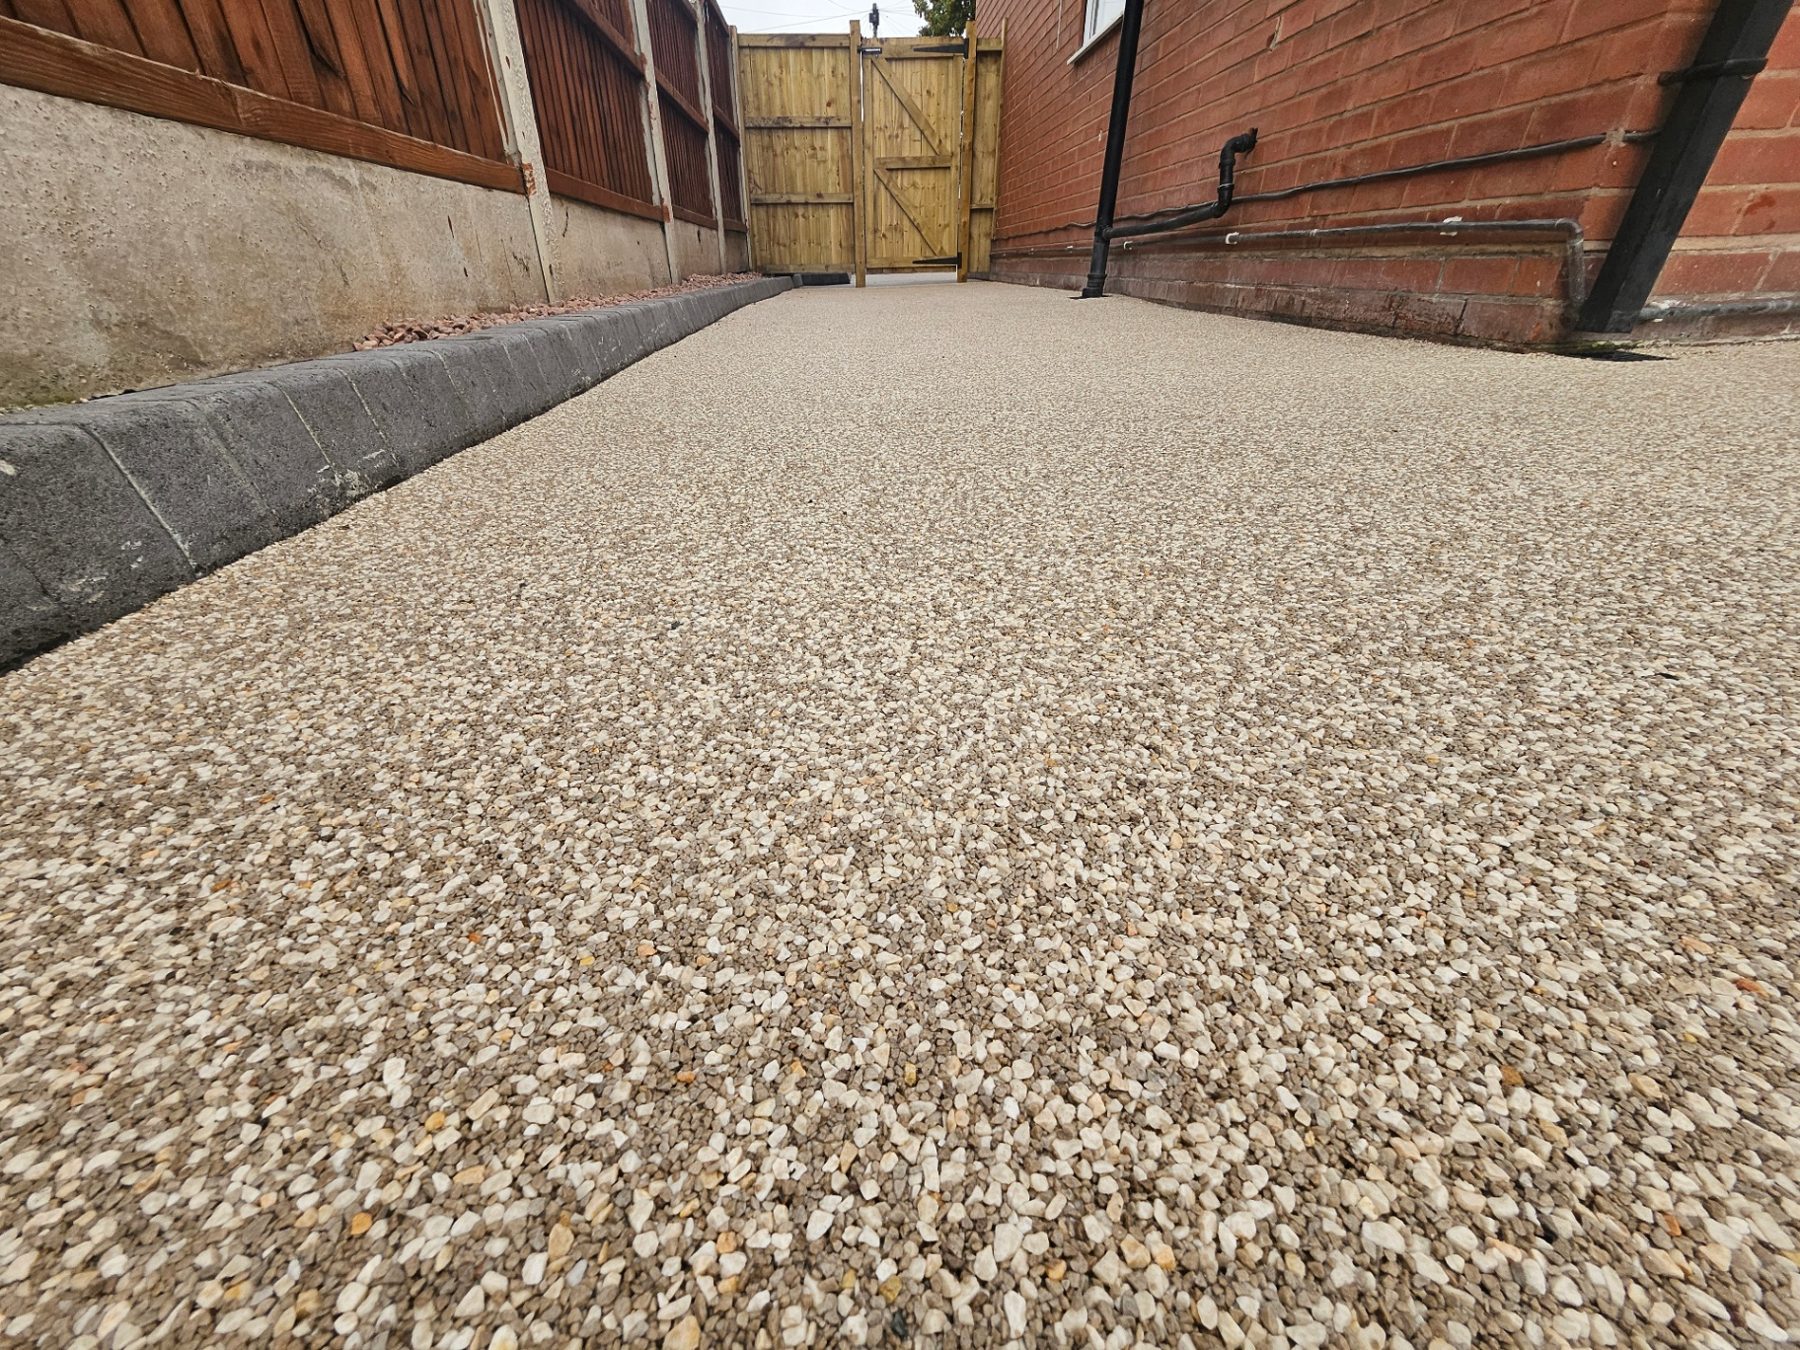
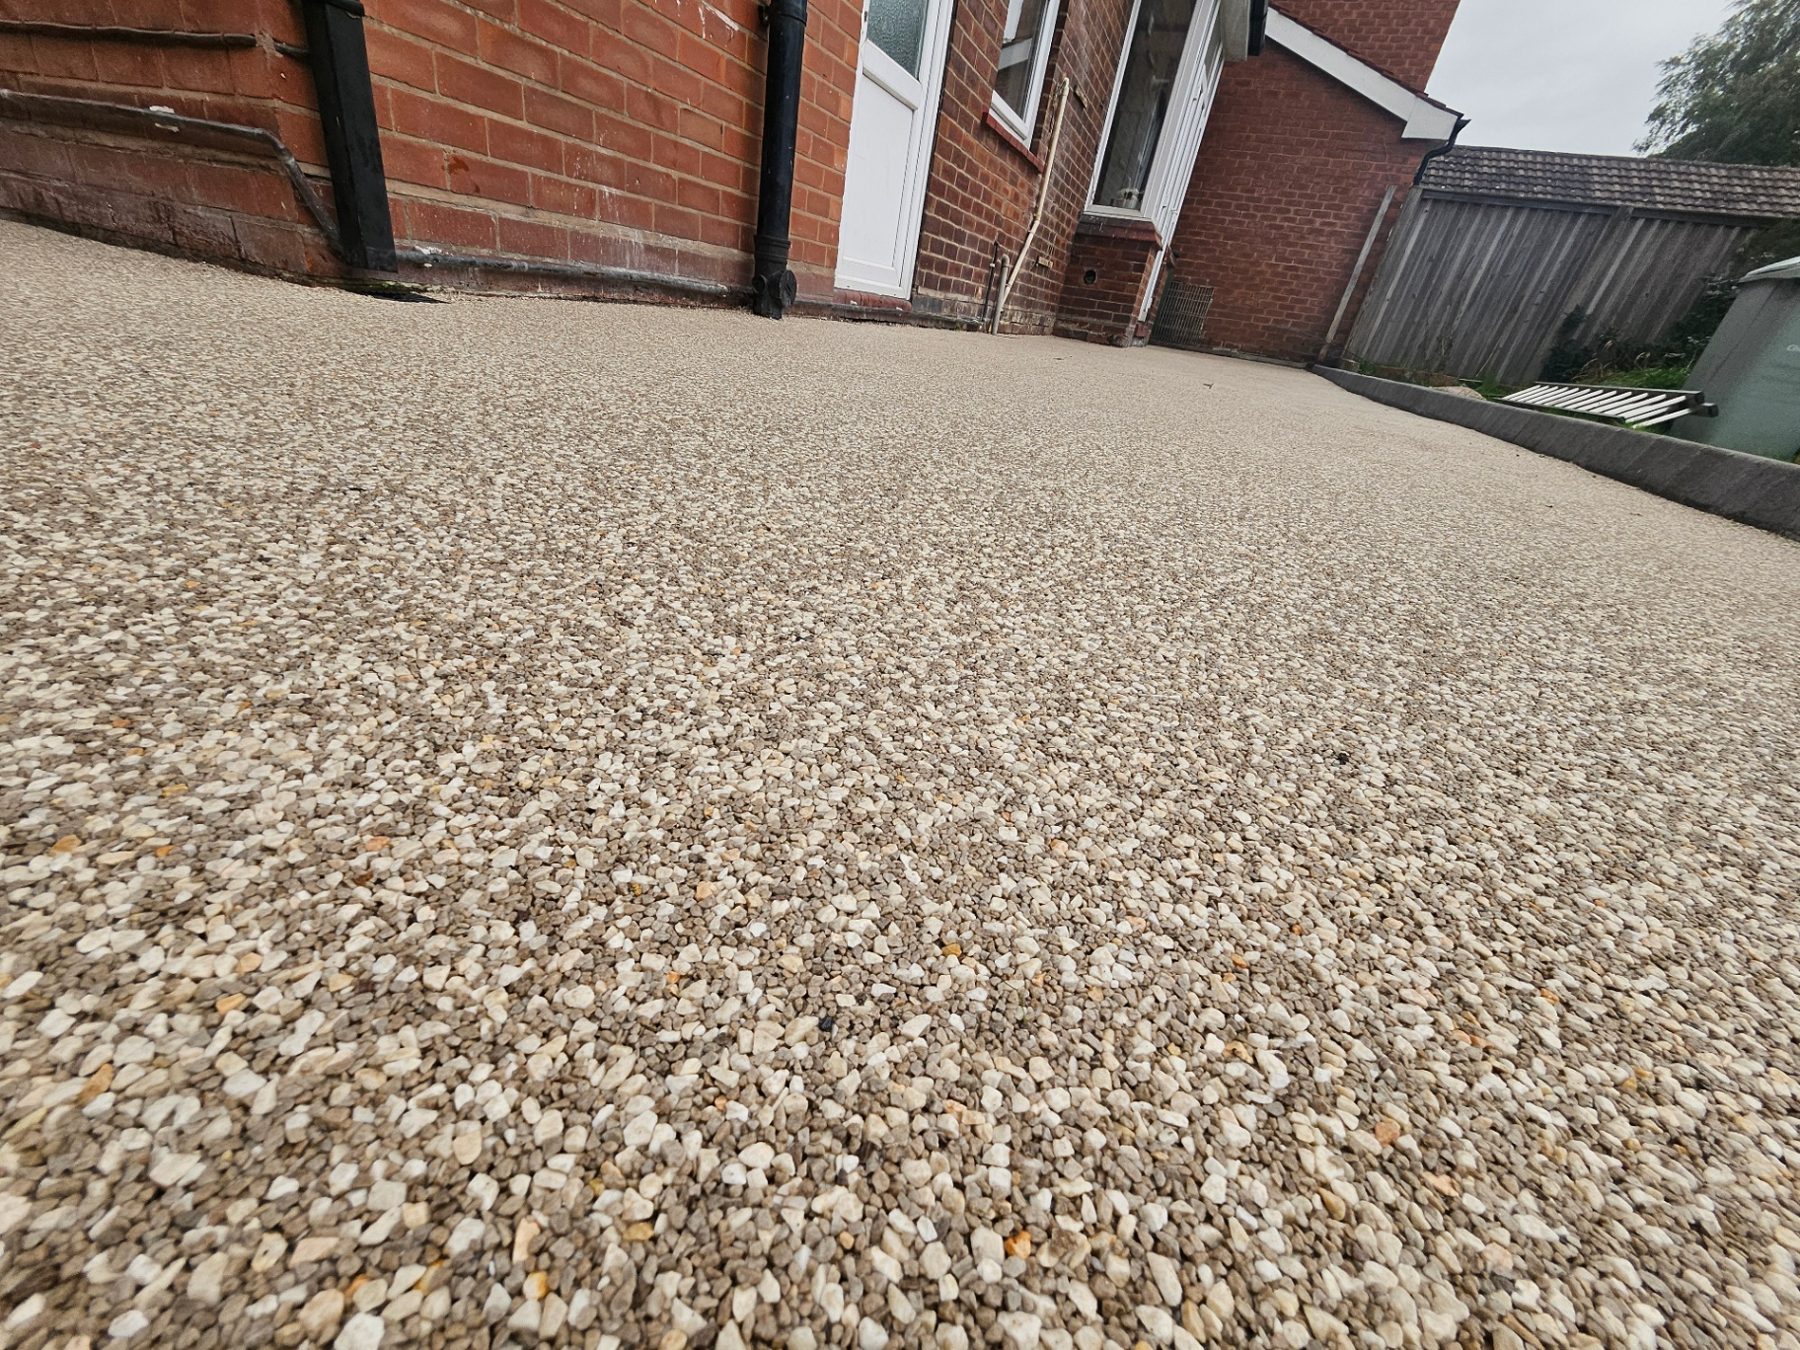
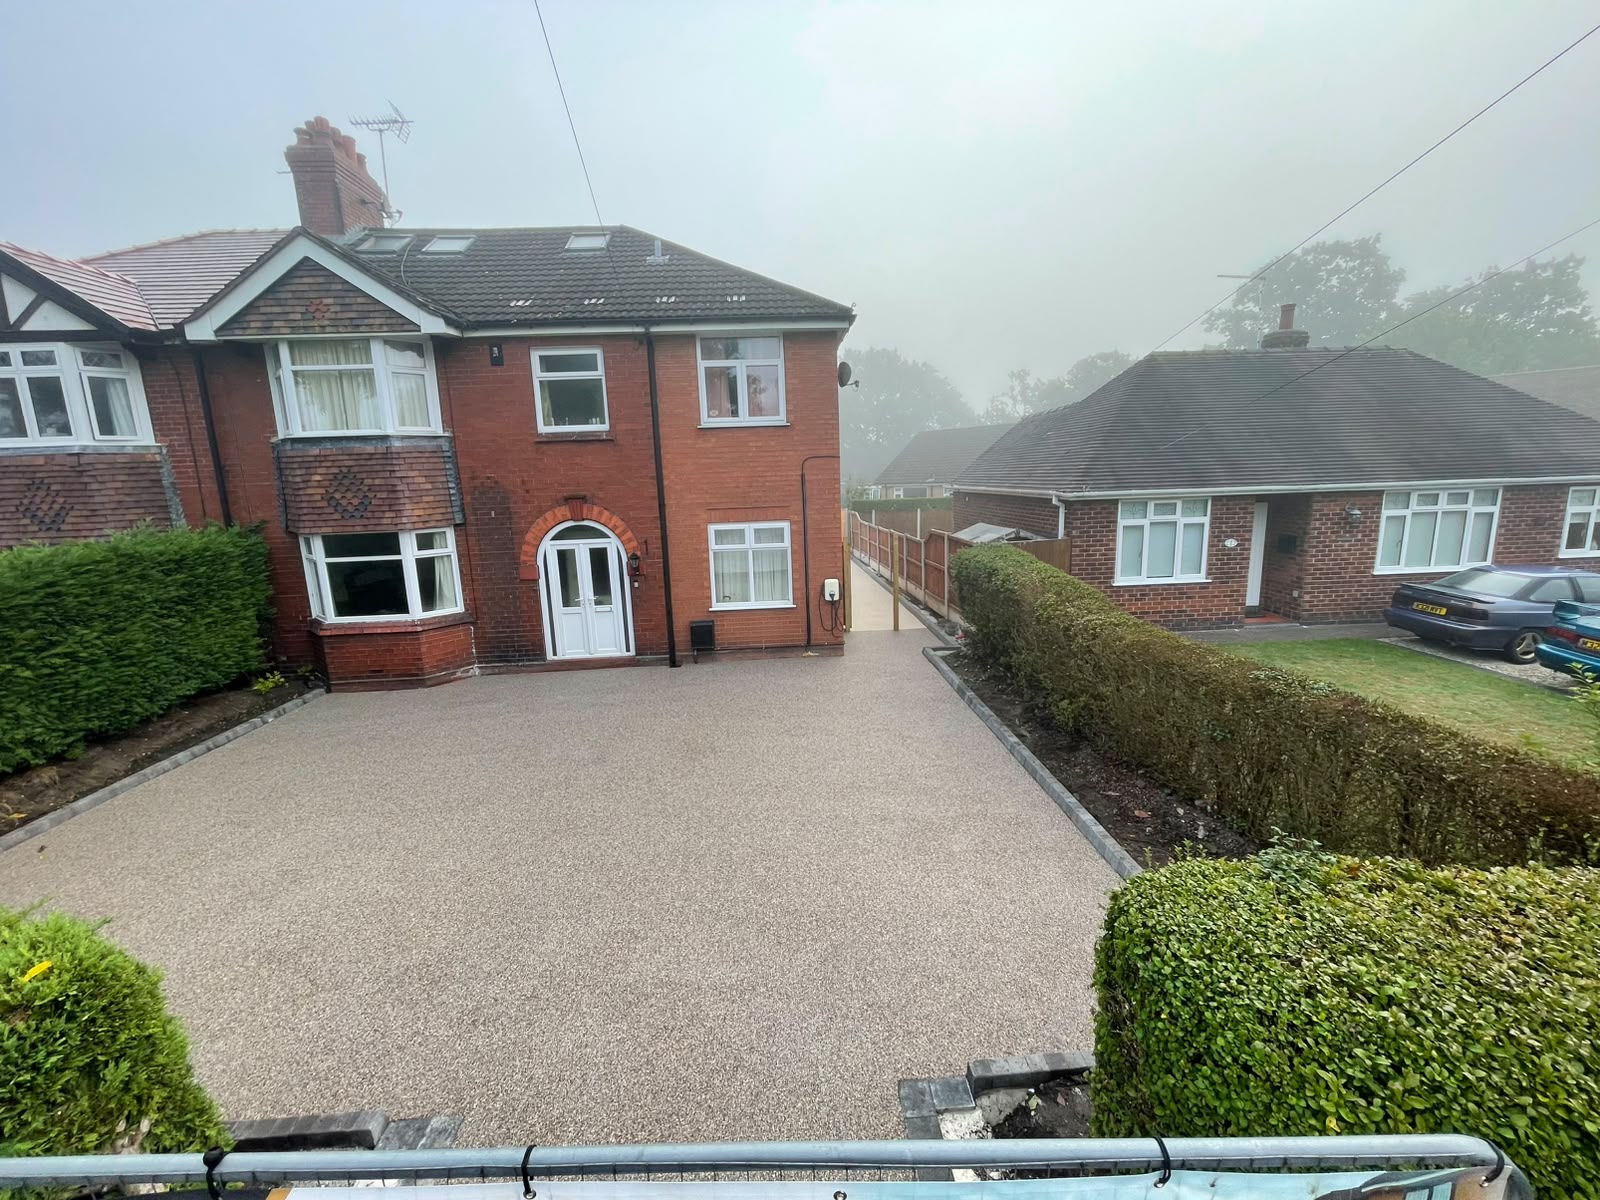
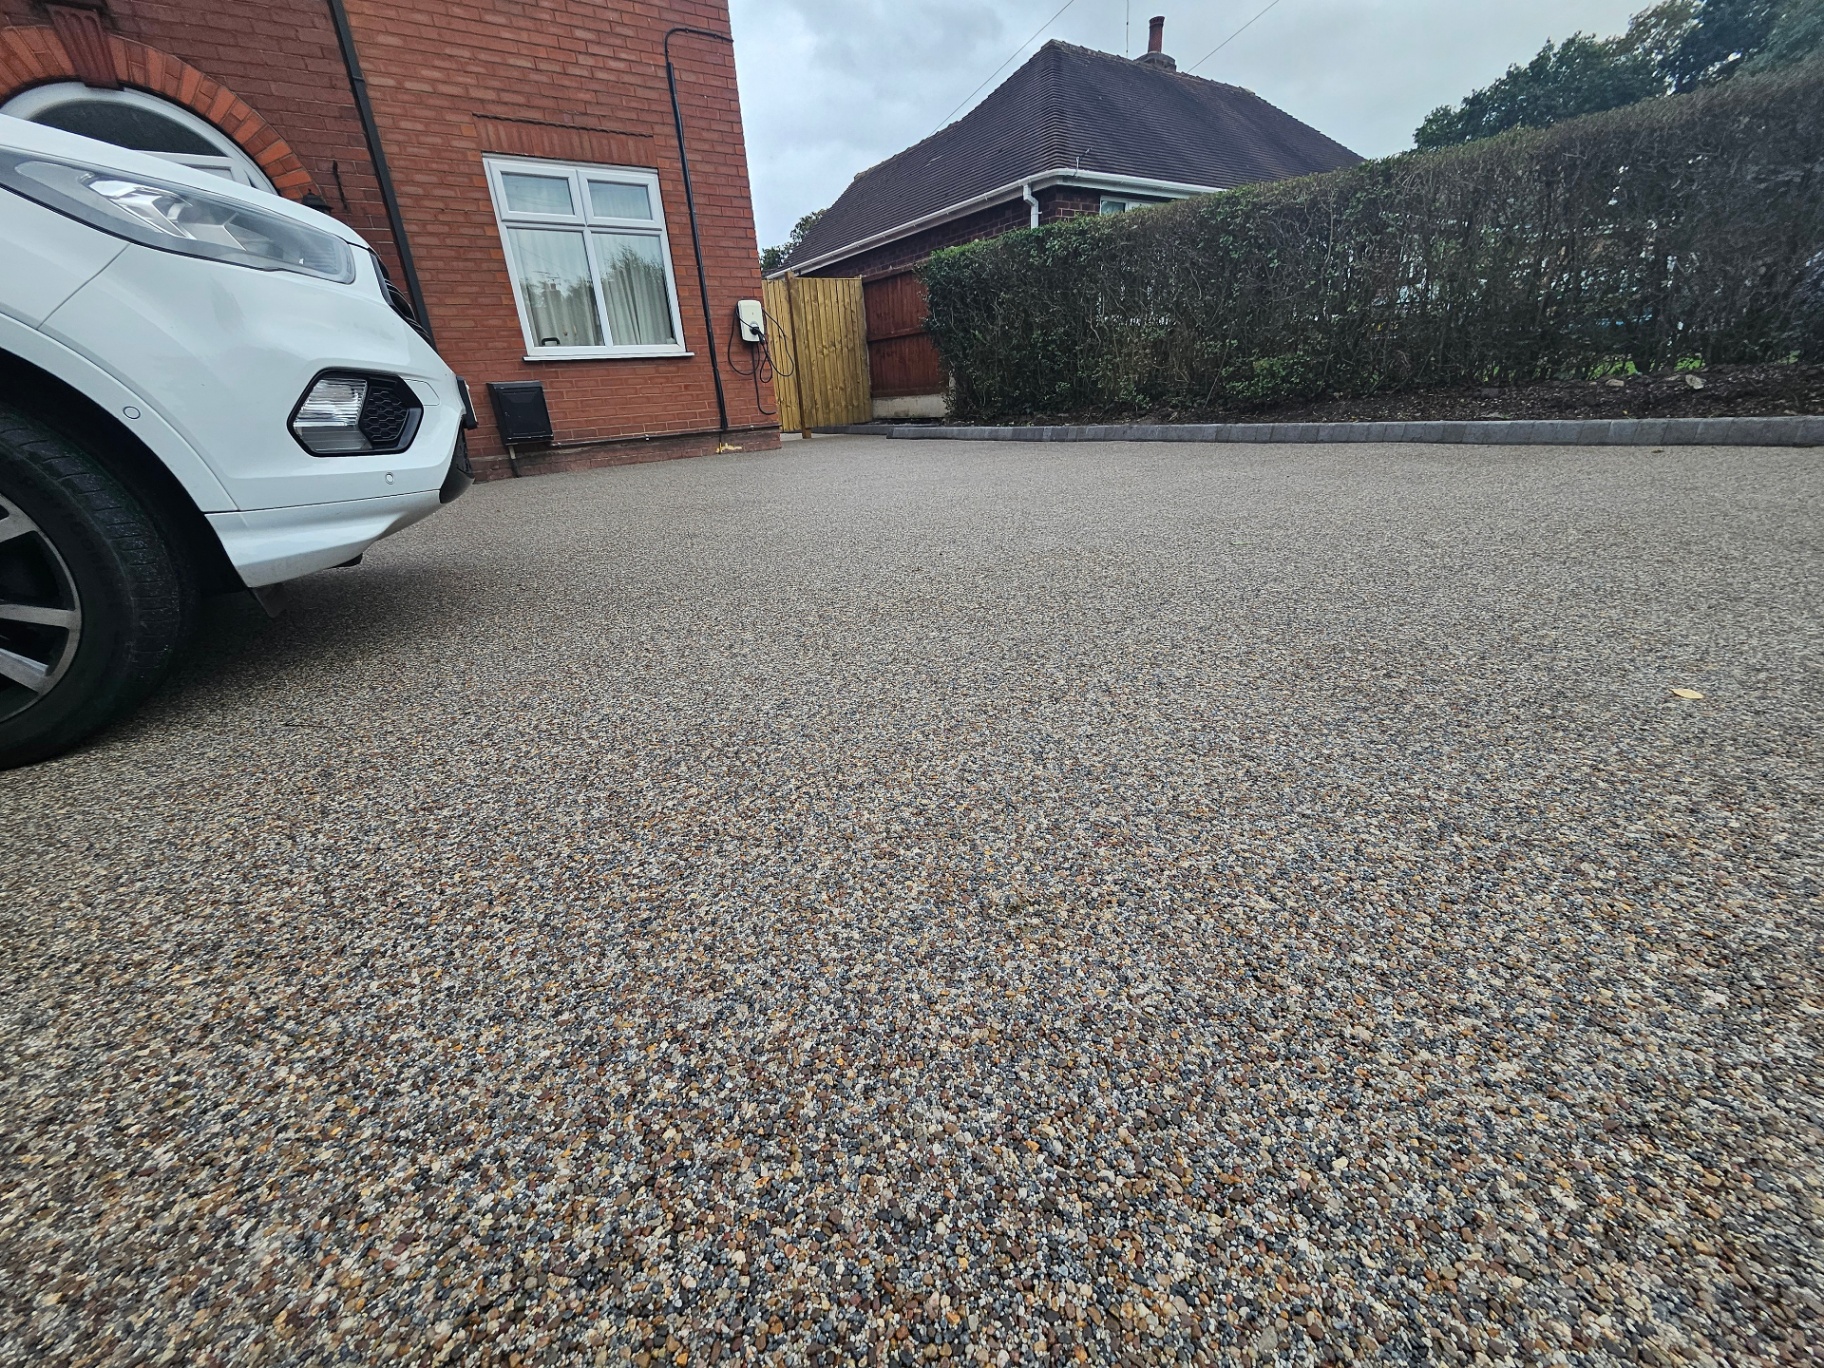
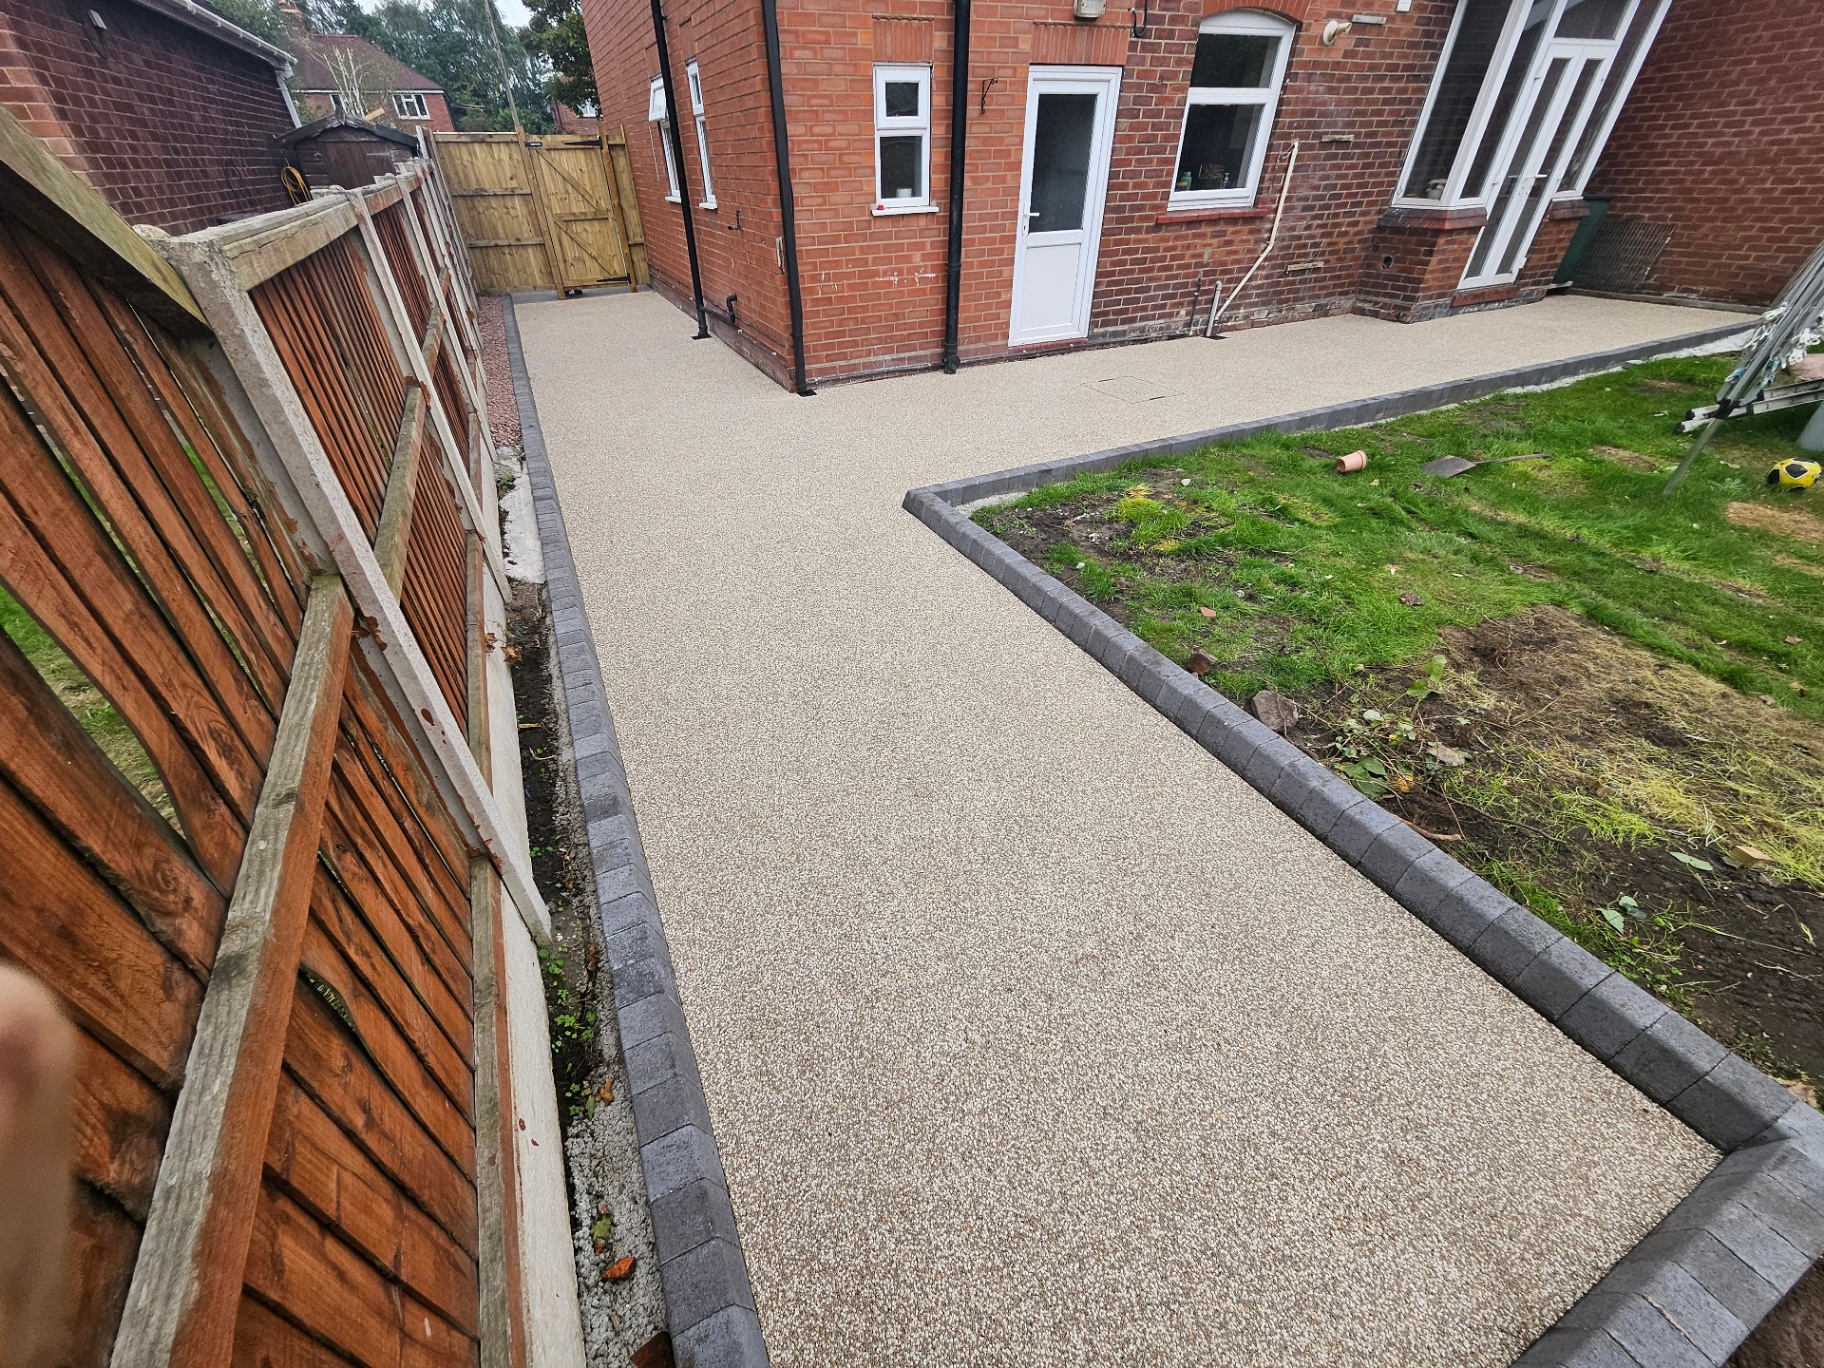
Resin bound examples by Atelier Kerb, including driveways and paths.



Beneath the finish
Preparation and drainage for this surface.
A patio needs support suited to its ground, materials and intended use. We assess the existing construction, finished levels, doorway details and water routes, then explain the proposed build-up and any further checks needed.
- Levels against doors and the damp-proof course
- Falls and drainage away from buildings
- Edges against lawns and beds
- Existing paving: lift or overlay
Construction guide
Beneath resin bound.
This resin driveway example uses open-grade Type 3 stone, open-grade capping, a resin-bound base and decorative wearing course. The complete system and drainage route are assessed together.
Illustrative arrangement, not a project specification. Product requirements, layer depths and drainage are confirmed in the written proposal; this does not establish suitability for your site.
Explore construction and drainage- Decorative wearing course — 18–20mm. The chosen decorative aggregate in resin, trowelled to an even, permeable finish — the layer you see.
- Resin-bound base — 30–35mm. A coarser resin-bound layer that gives the driveway its strength and lets water drain through.
- Capping layer (open grade) — 2–6mm stone. An open-graded regulating layer that levels and stabilises the sub-base below.
- Open-grade sub-base (Type 3) — 175–250mm. 20/30mm open-grade stone compacted in layers to carry vehicle loads while letting water drain away.
- Ground (formation) — —. Checked for soft spots before anything is built on it.
Project visualiser
Explore your chosen finish.
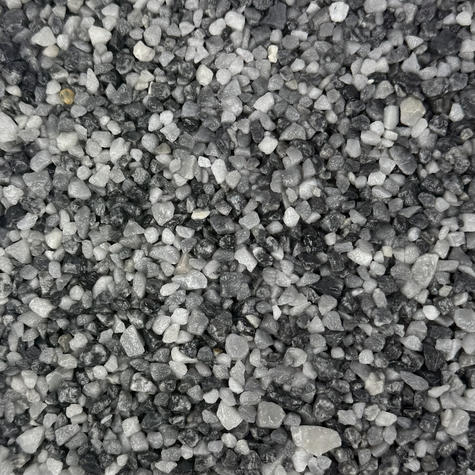
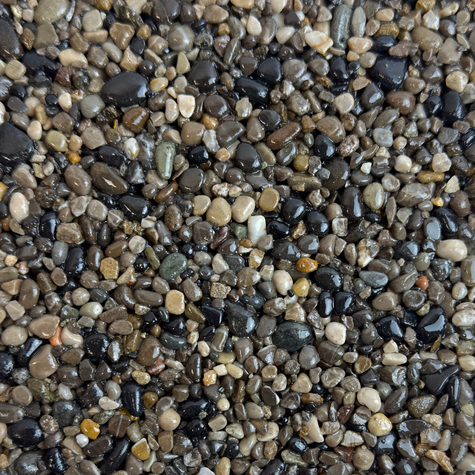
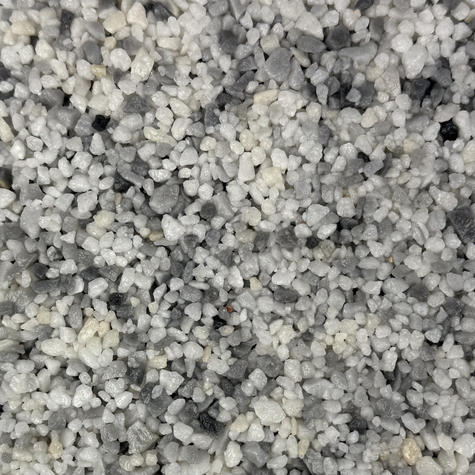
Use your photograph to explore an illustrative colour guide, then confirm the material with physical samples.
Visualise Your Project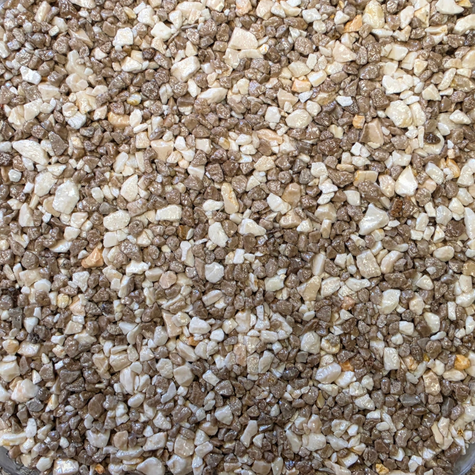


Know what happens next.
- 1.
Assess your site.
Tell us how you want the space to look and work. We review the existing surface, levels, drainage and access, and discuss suitable options.
- 2.
Agree your proposal.
Your written proposal explains the recommended construction, materials, scope and price, including allowances and anything still to confirm.
- 3.
Install and hand over.
We carry out the agreed work, review the finished project with you and explain the care and reopening guidance for your installation.
Understand what your price includes.
Your proposal brings preparation, supporting construction, materials and finishing details into one scope. It explains the work included, any allowances, exclusions and items that need further assessment.
If you want to explore a different budget, we can discuss the materials, detailing or extent of the project while keeping the preparation your site needs.
Resin Bound Patios questions.
Can a patio be laid at the same level as my door?+
Levels have to stay below the damp-proof course with suitable drainage. We measure this on site.
Is it slippery?+
Surface texture and any additives depend on the specified system. Discuss your intended use with our Studio at assessment.

Let's plan your resin patio.
Tell our Studio what you want to change. We'll discuss your priorities, review the site and explain the proposed work and price in writing.
Request Your Site AssessmentOr call our Studio on 07340 727425. We'll contact you to agree a visit time.
New to resin? Read the resin-bound surface guide or browse more advice.